WATCH THE VID FOR MY BEHIND THE SCENES PROCESS OR READ THIS POST!
Believe me, I know, It’s SO hard to keep your instagram looking consistent and cohesive. A lot of people just think it means slapping one filter on all your photos and suddenly your feed will look like a curated Pinterest board. But if you have tried it, you know it’s not the case. Here are some tips to create your own IG theme! And if you feel like you don’t want to do the work… DM or email me and I can create one for you.
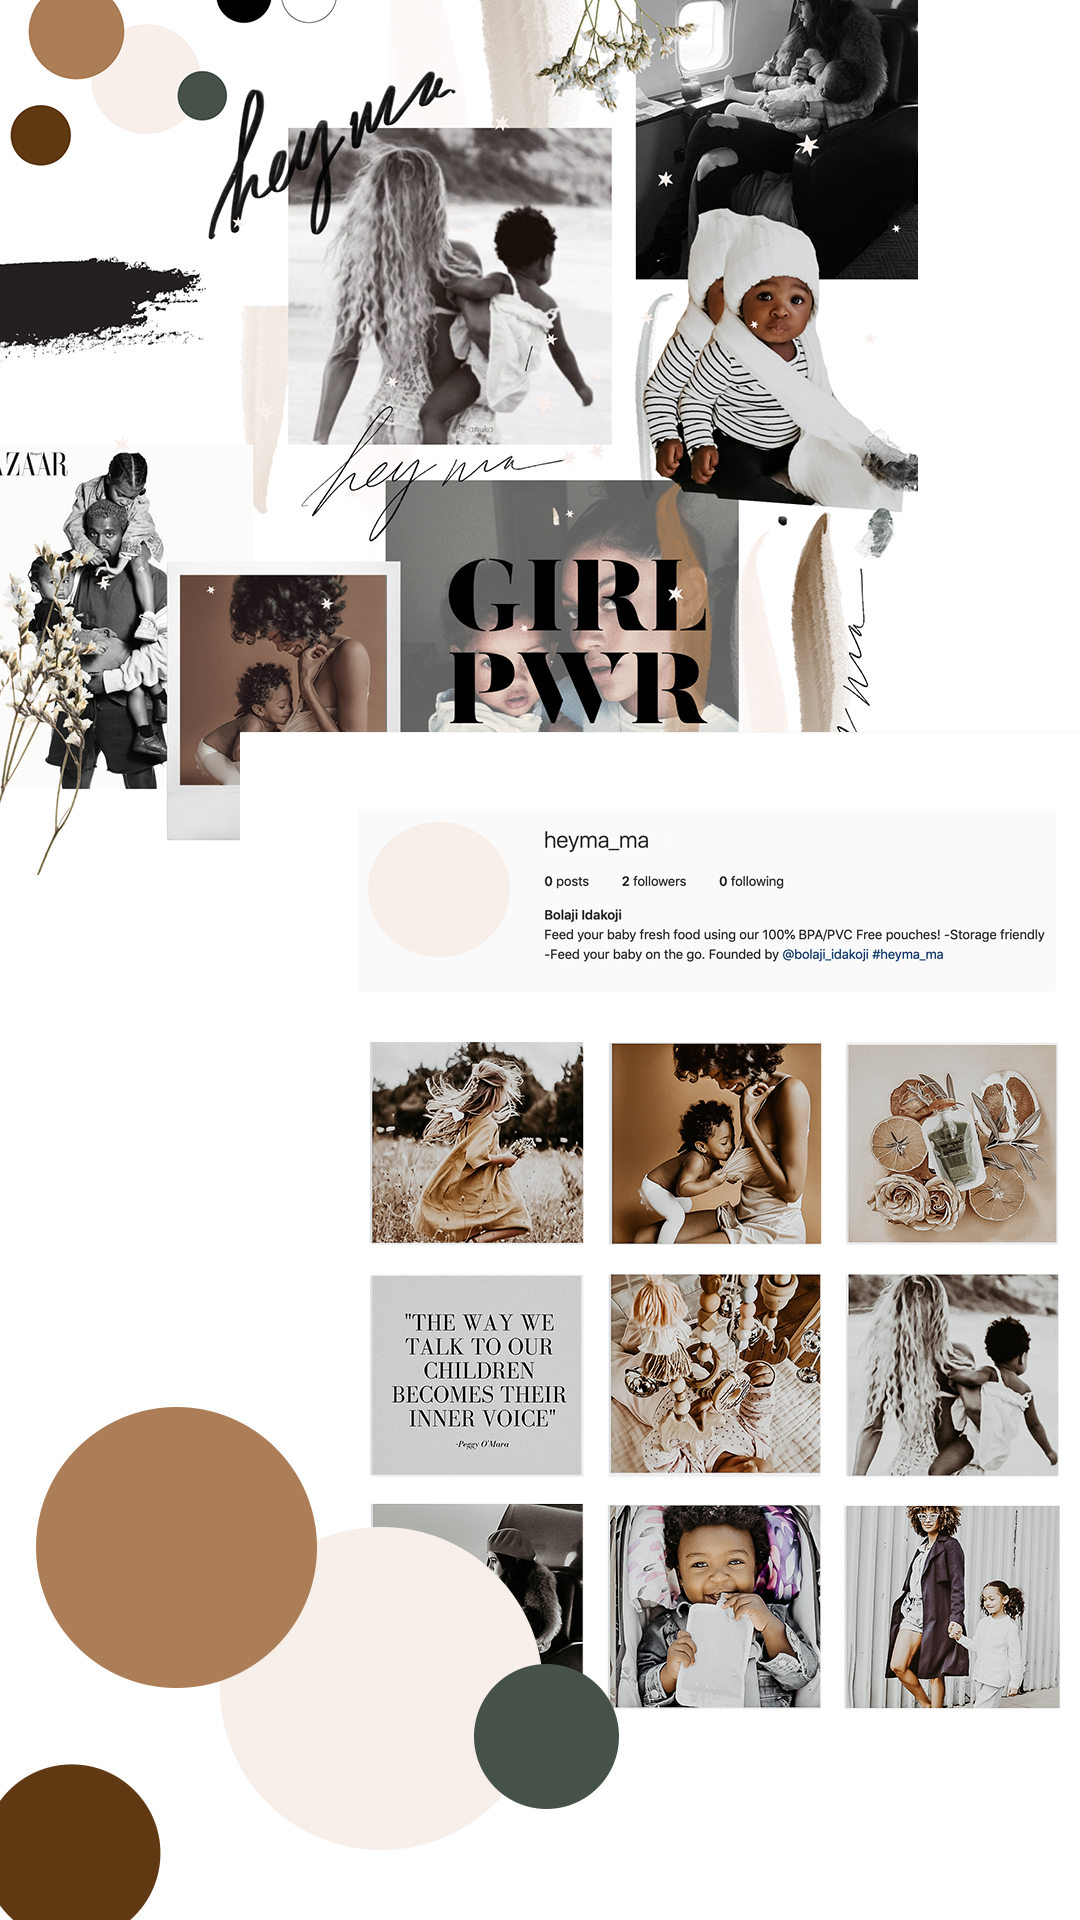
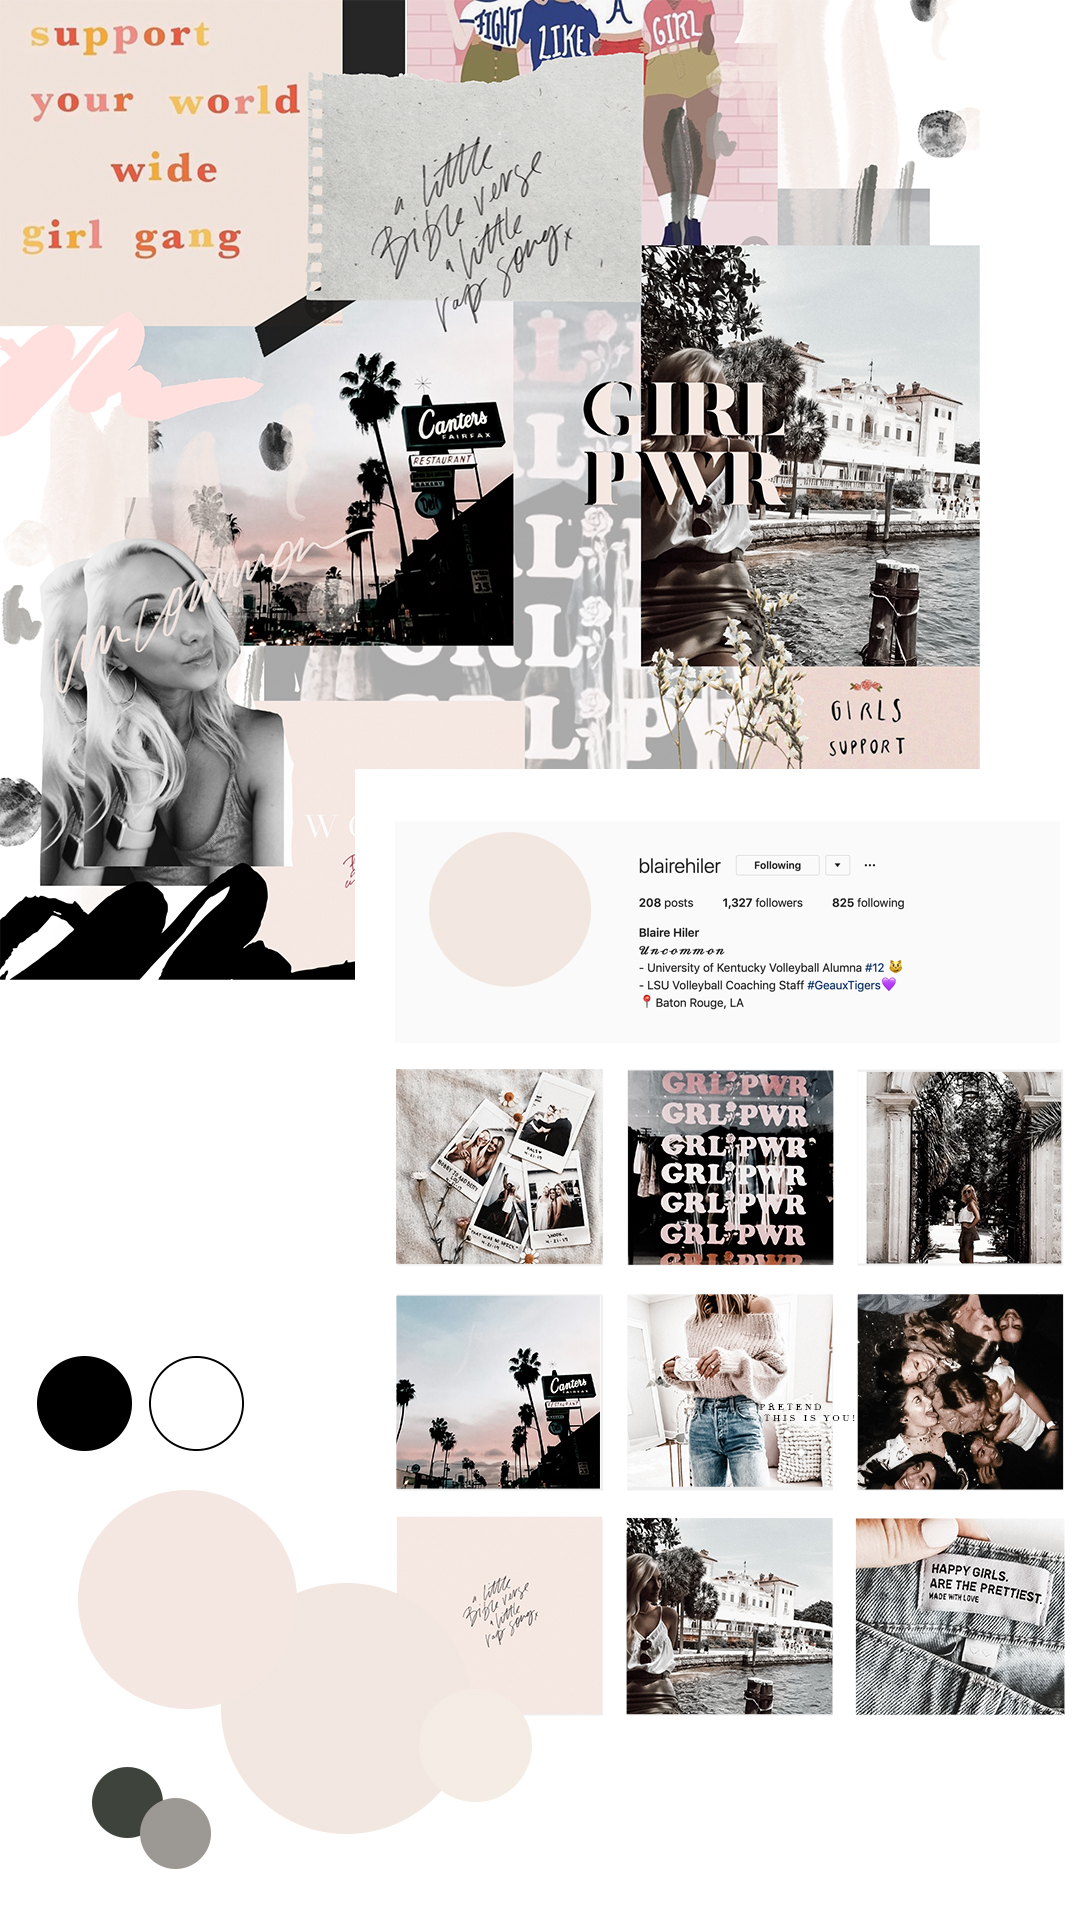
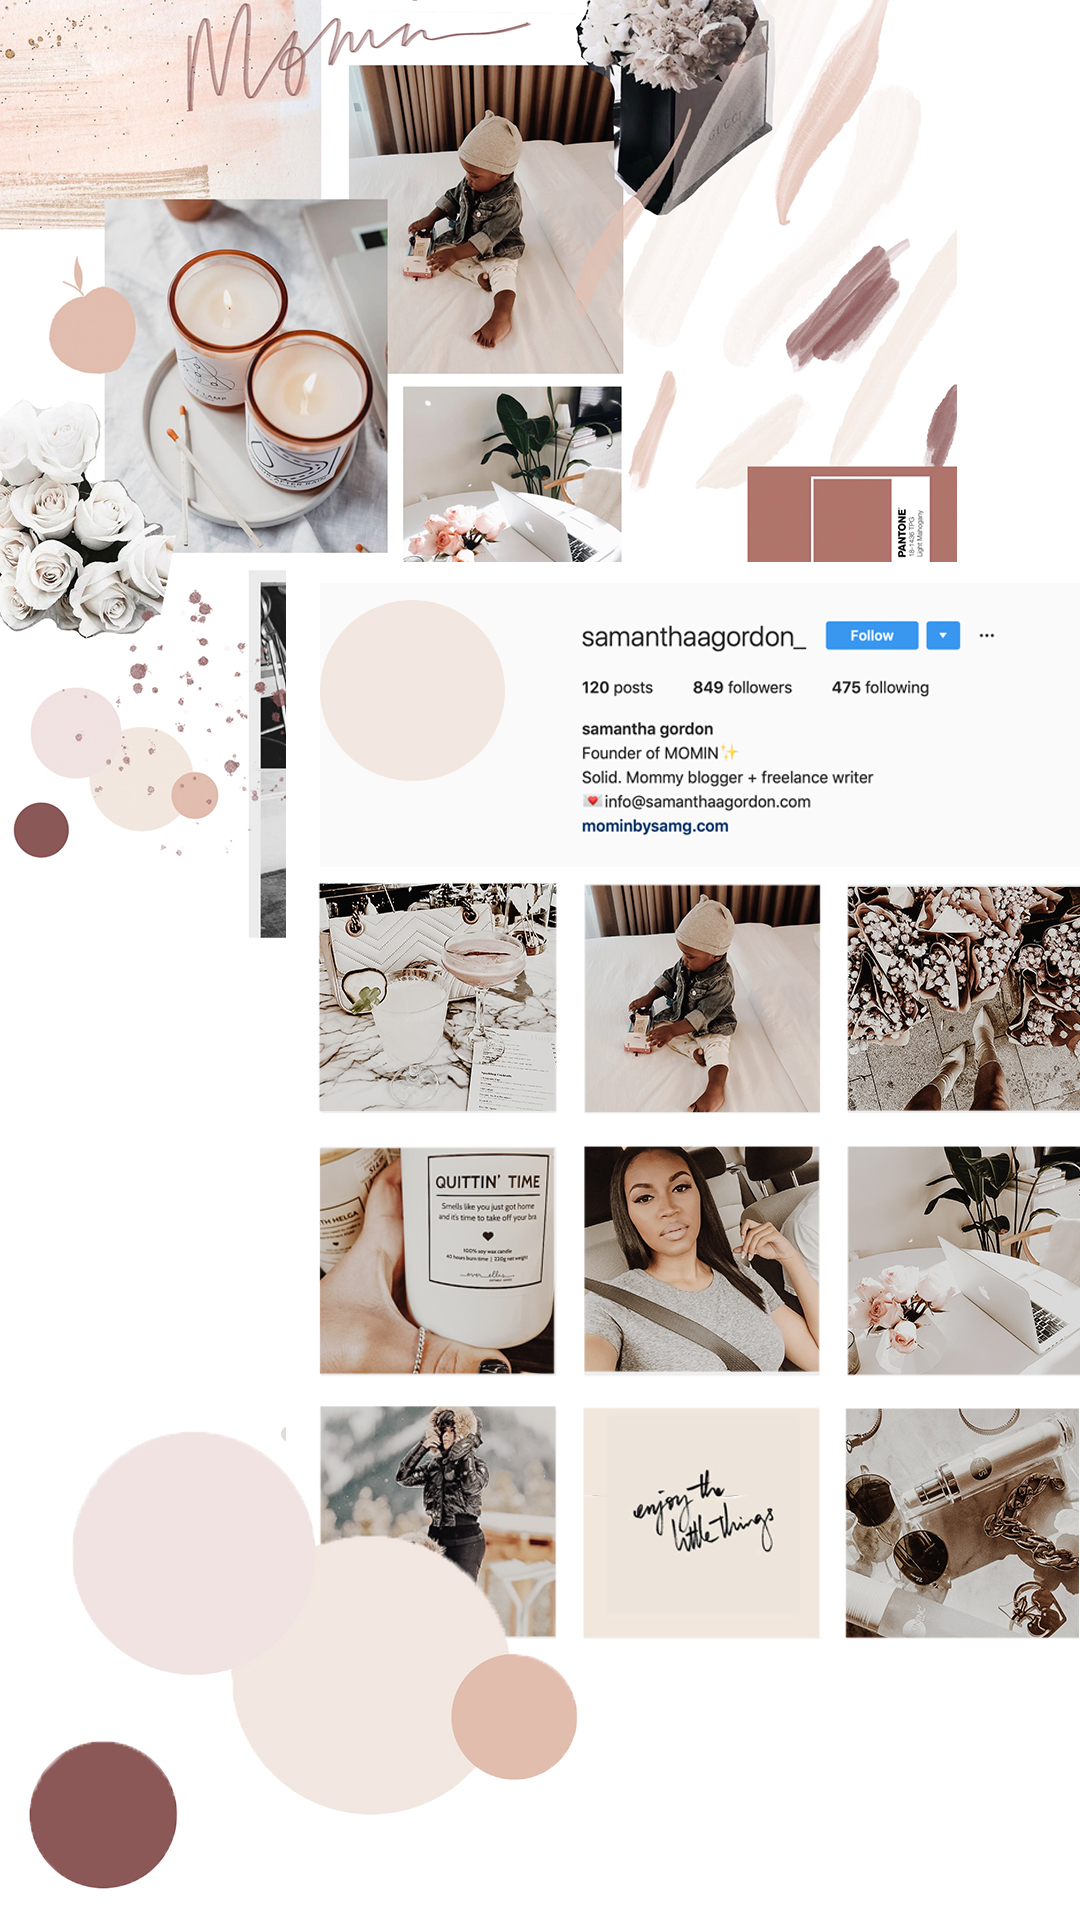
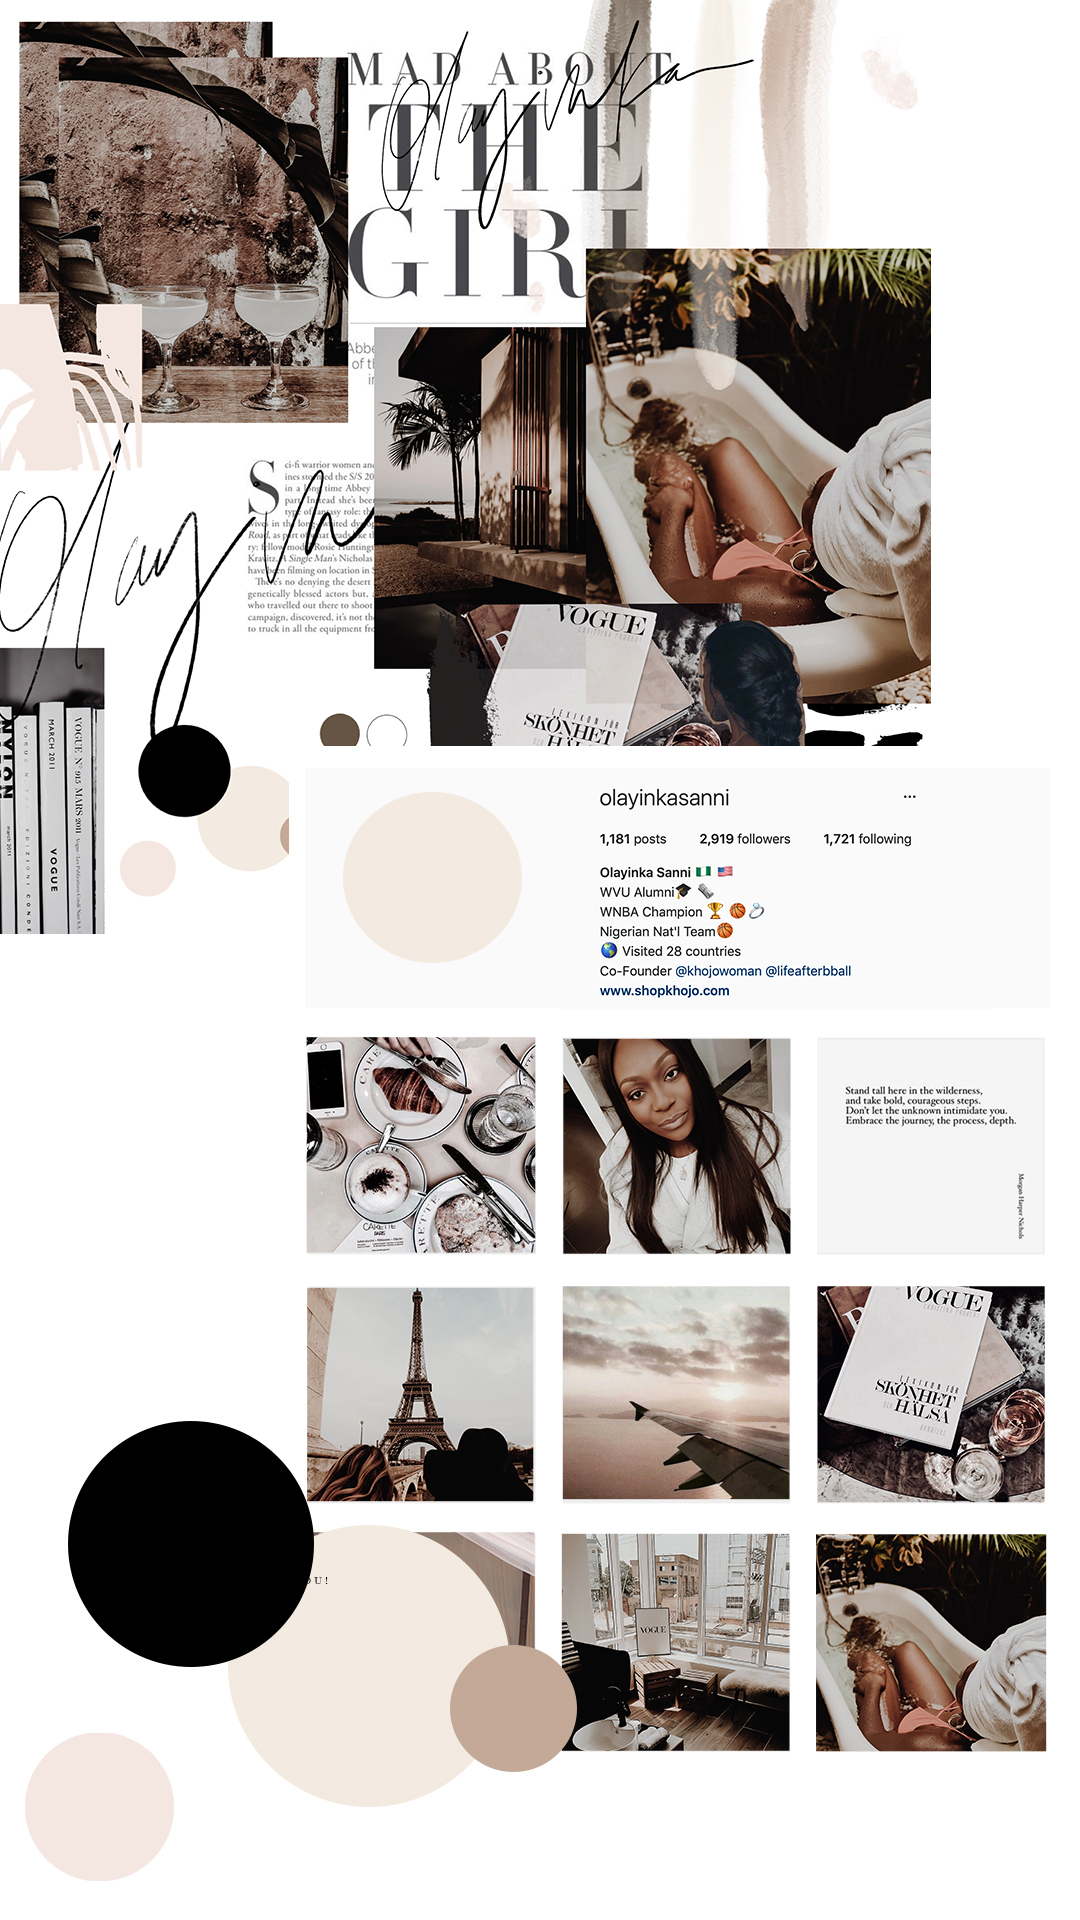
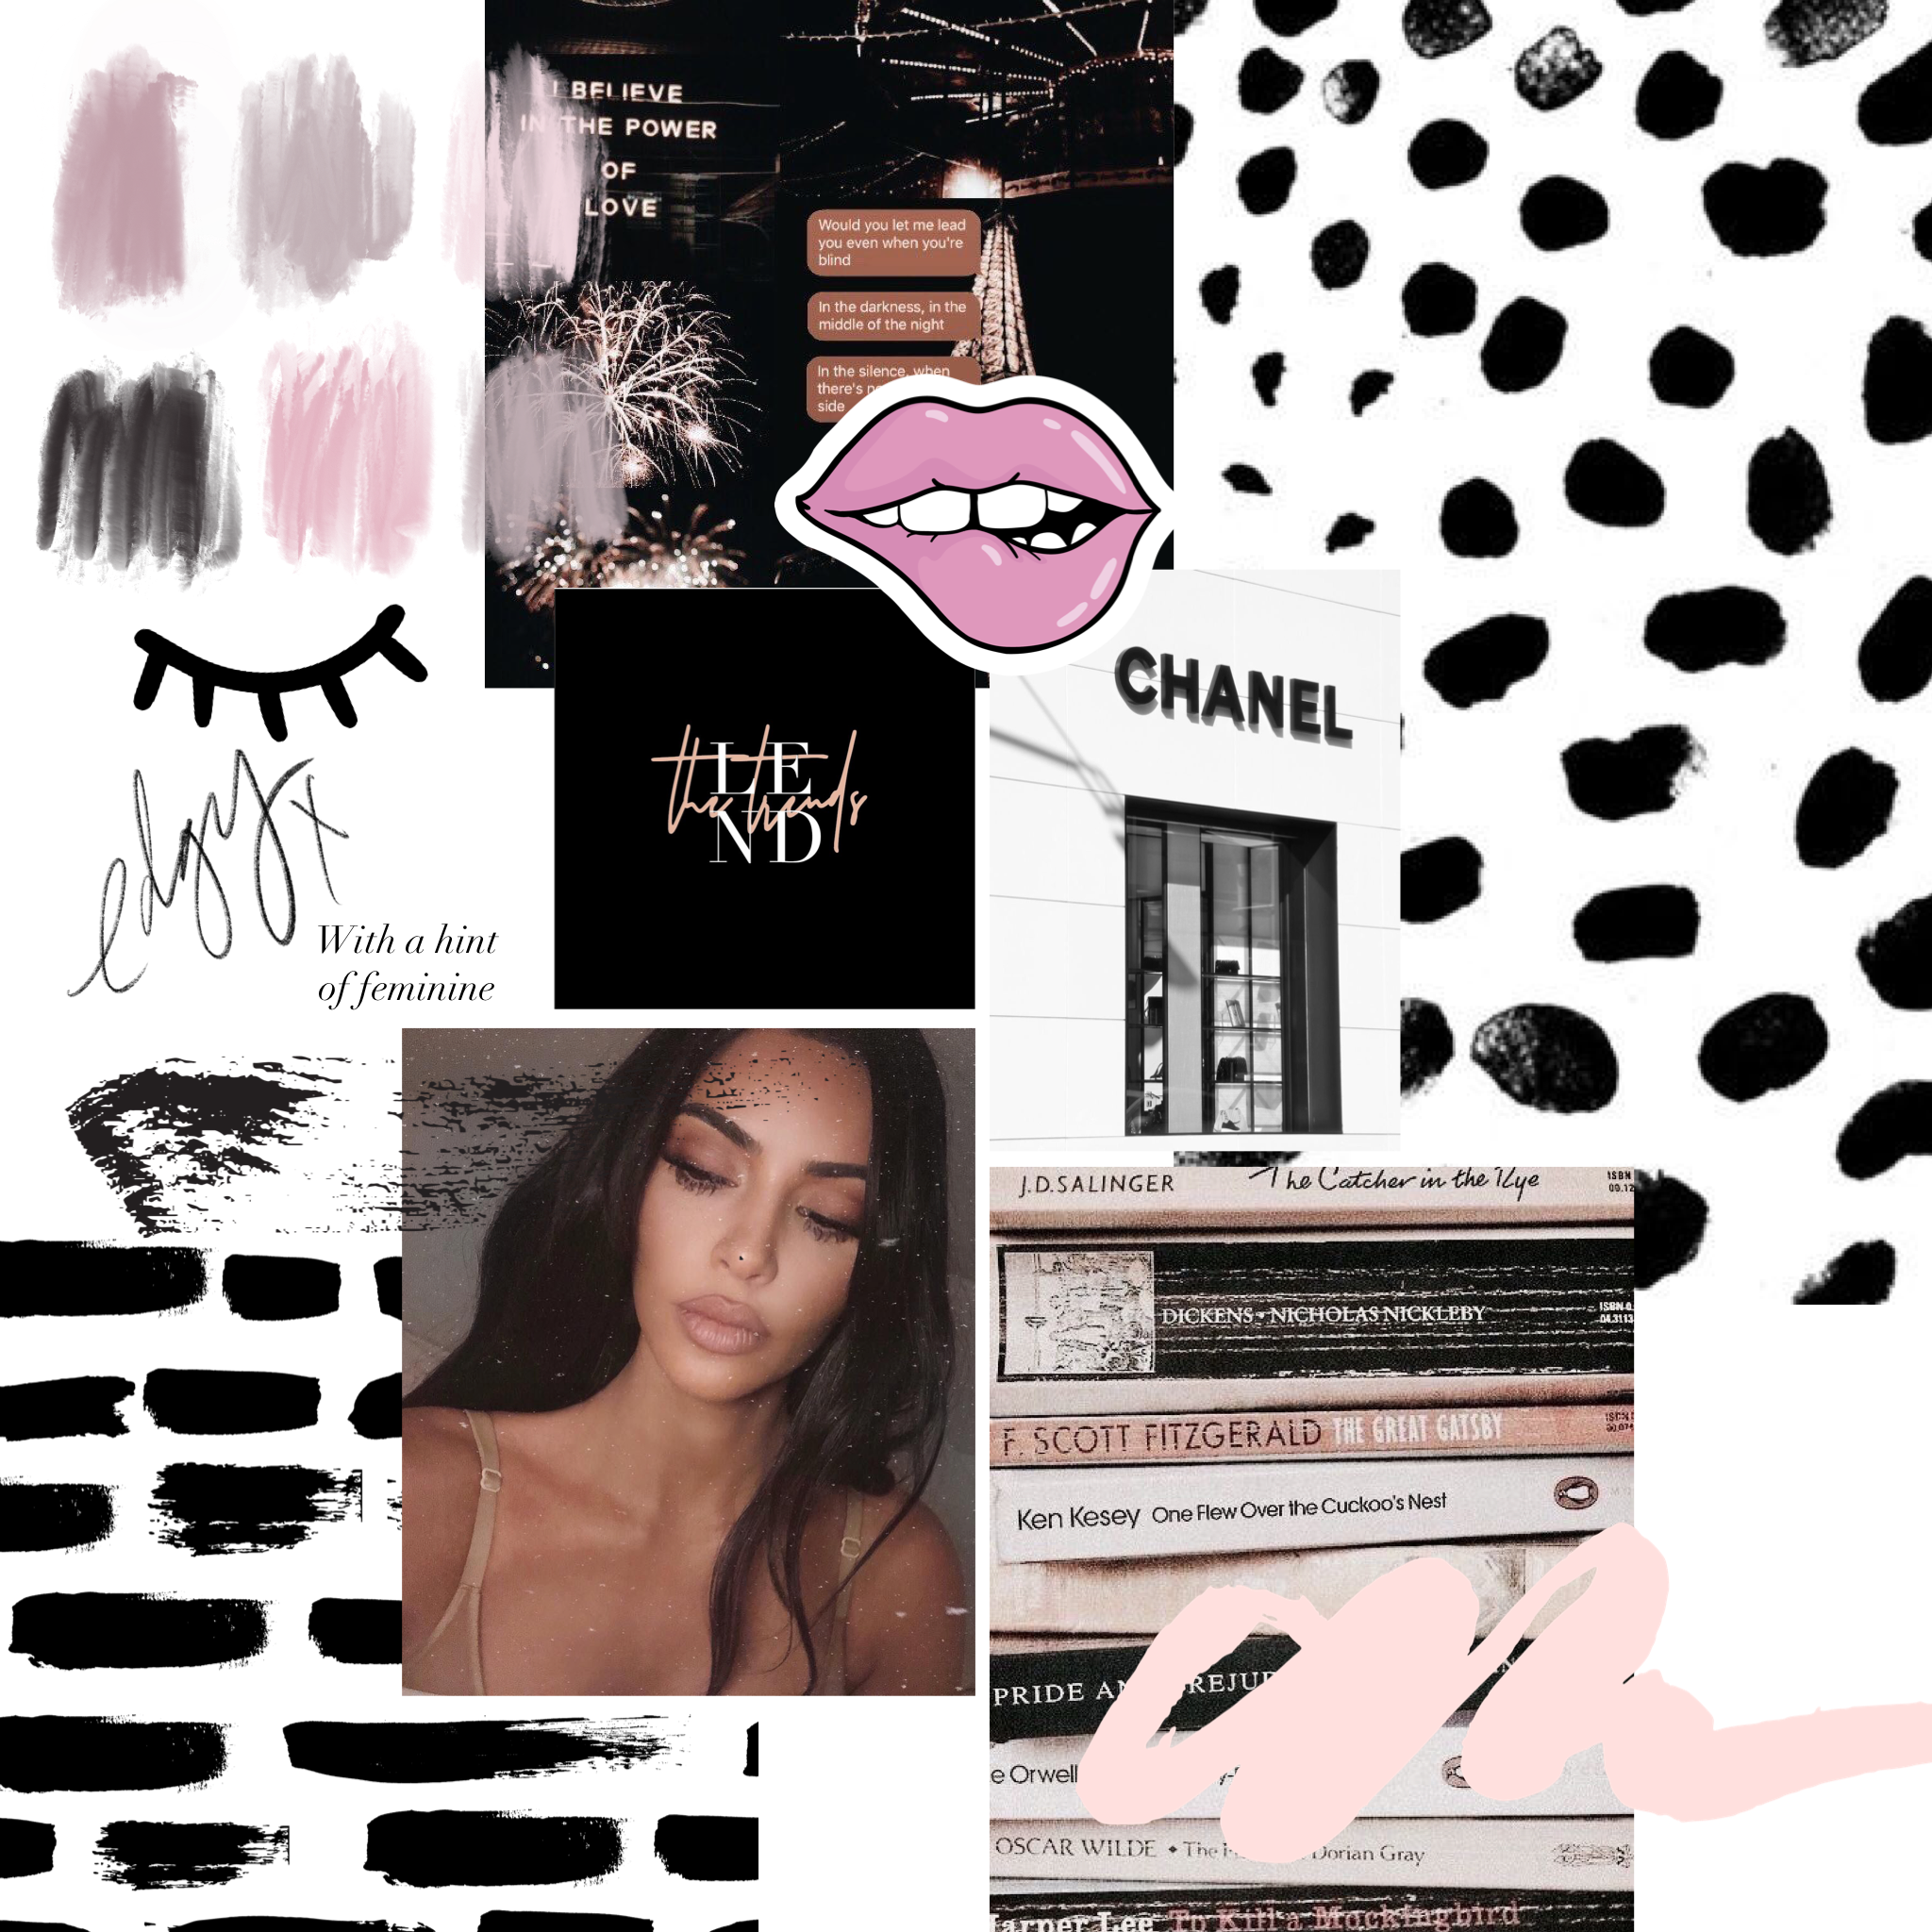
Below is a theme I created for a Las Vegas based lash artist. It includes a Mock profile, moldboard, colors, content pillars, and I also created some graphics for here to use on instagram stories

IN A NUT SHELL:
Basically, you will want to stick to content, colors, filters and overall aesthetics on your page. You want it to become that if someone were to see one of your photos (that you are not in) somewhere besides your profile, they would know it was you. You want to develop your own unique aesthetic and vibe!
MOODBOARD:
Start with a mood board. Gather images you love, colors you love, the type of photos you want there to be on your account.
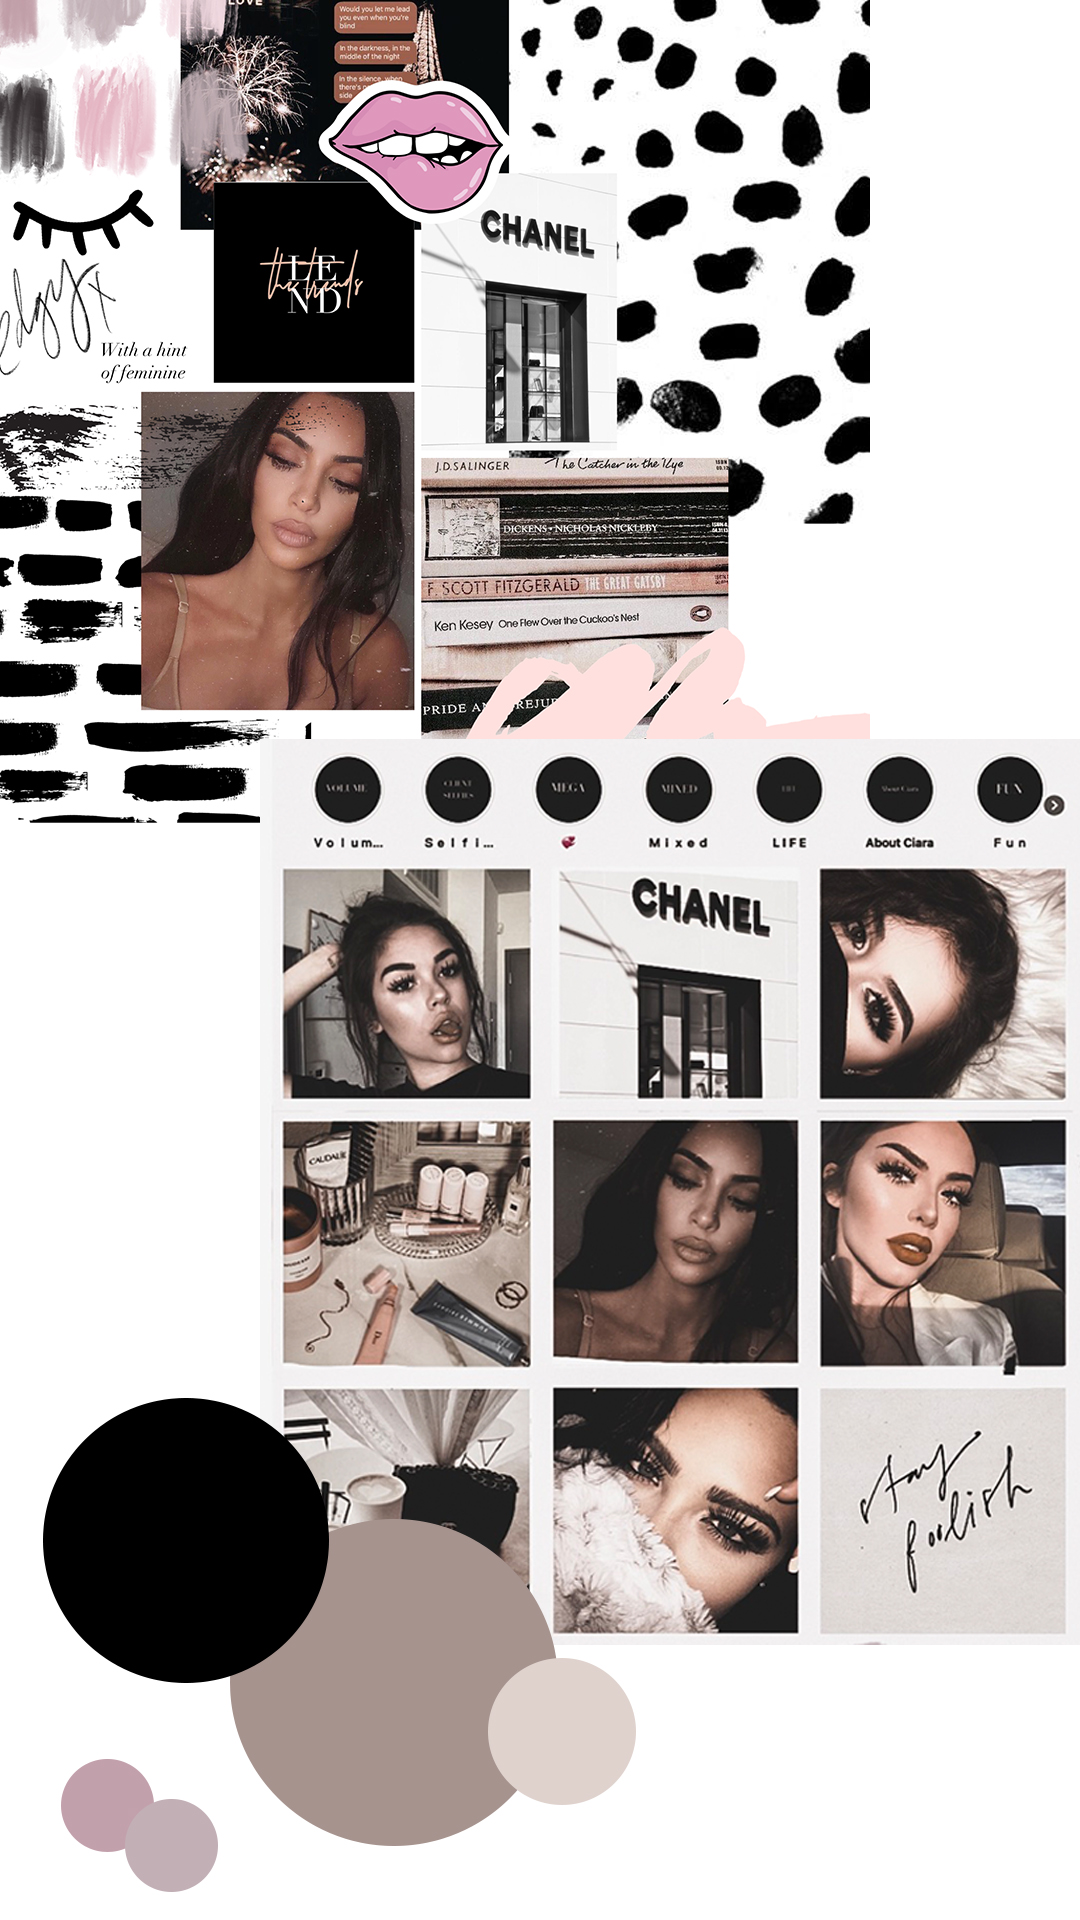
CONENT PILLARS:
Think of all the content that is your brand or ‘you’ . These Pilars will serve as a road map for the content you want to get and when to post that content. Write down all the type of content that you think will communicate what you want it to on your page. Examples are
-
behind the scenes
-
flat lay
-
kids
-
ootd
-
desk shot
-
collage
-
pretty drinks
You can see it can be ANYTHING YOU WANT. BUT, make sure that they fit in your theme. If you want to put a selfie in there, why? what will it do? Are you introducing the girl behind the brand? Are you a beauty blogger that wants to share a skin care routine? Every pillar needs to serve a purpose.
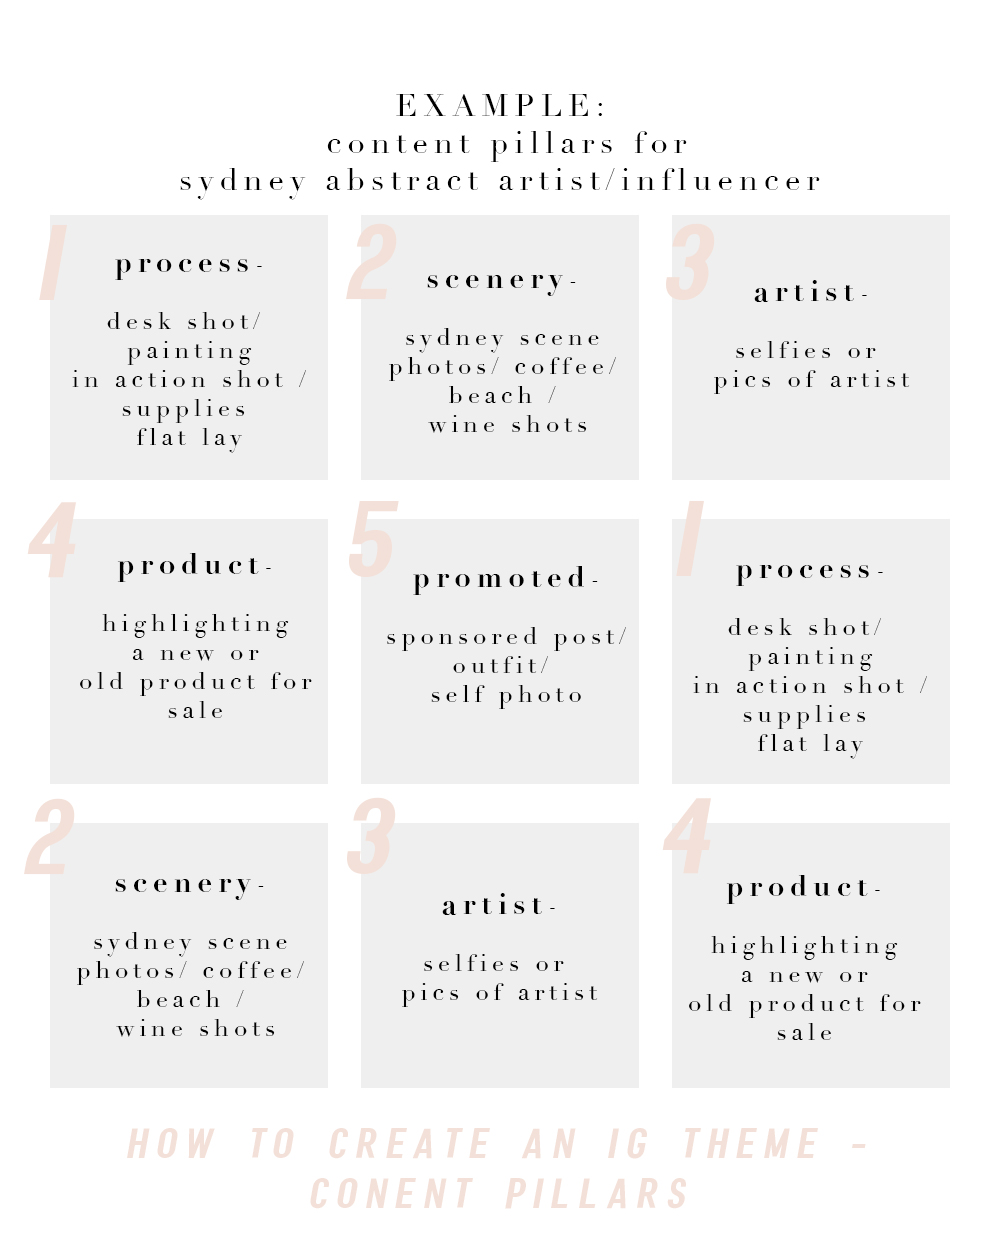
Pay attention to how these content pillars are different from the lash artists above (first photo). The pillars need to be personal and specific. Once you come up with the 5, arrange them so that they will look dynamic. No photo next to another that is too similar. Once you have the order, it will serve as a road map and tell you when to post what. After going through the pillars a couple times you will be able to get the hang of it and not have to stick to it so rigidly.
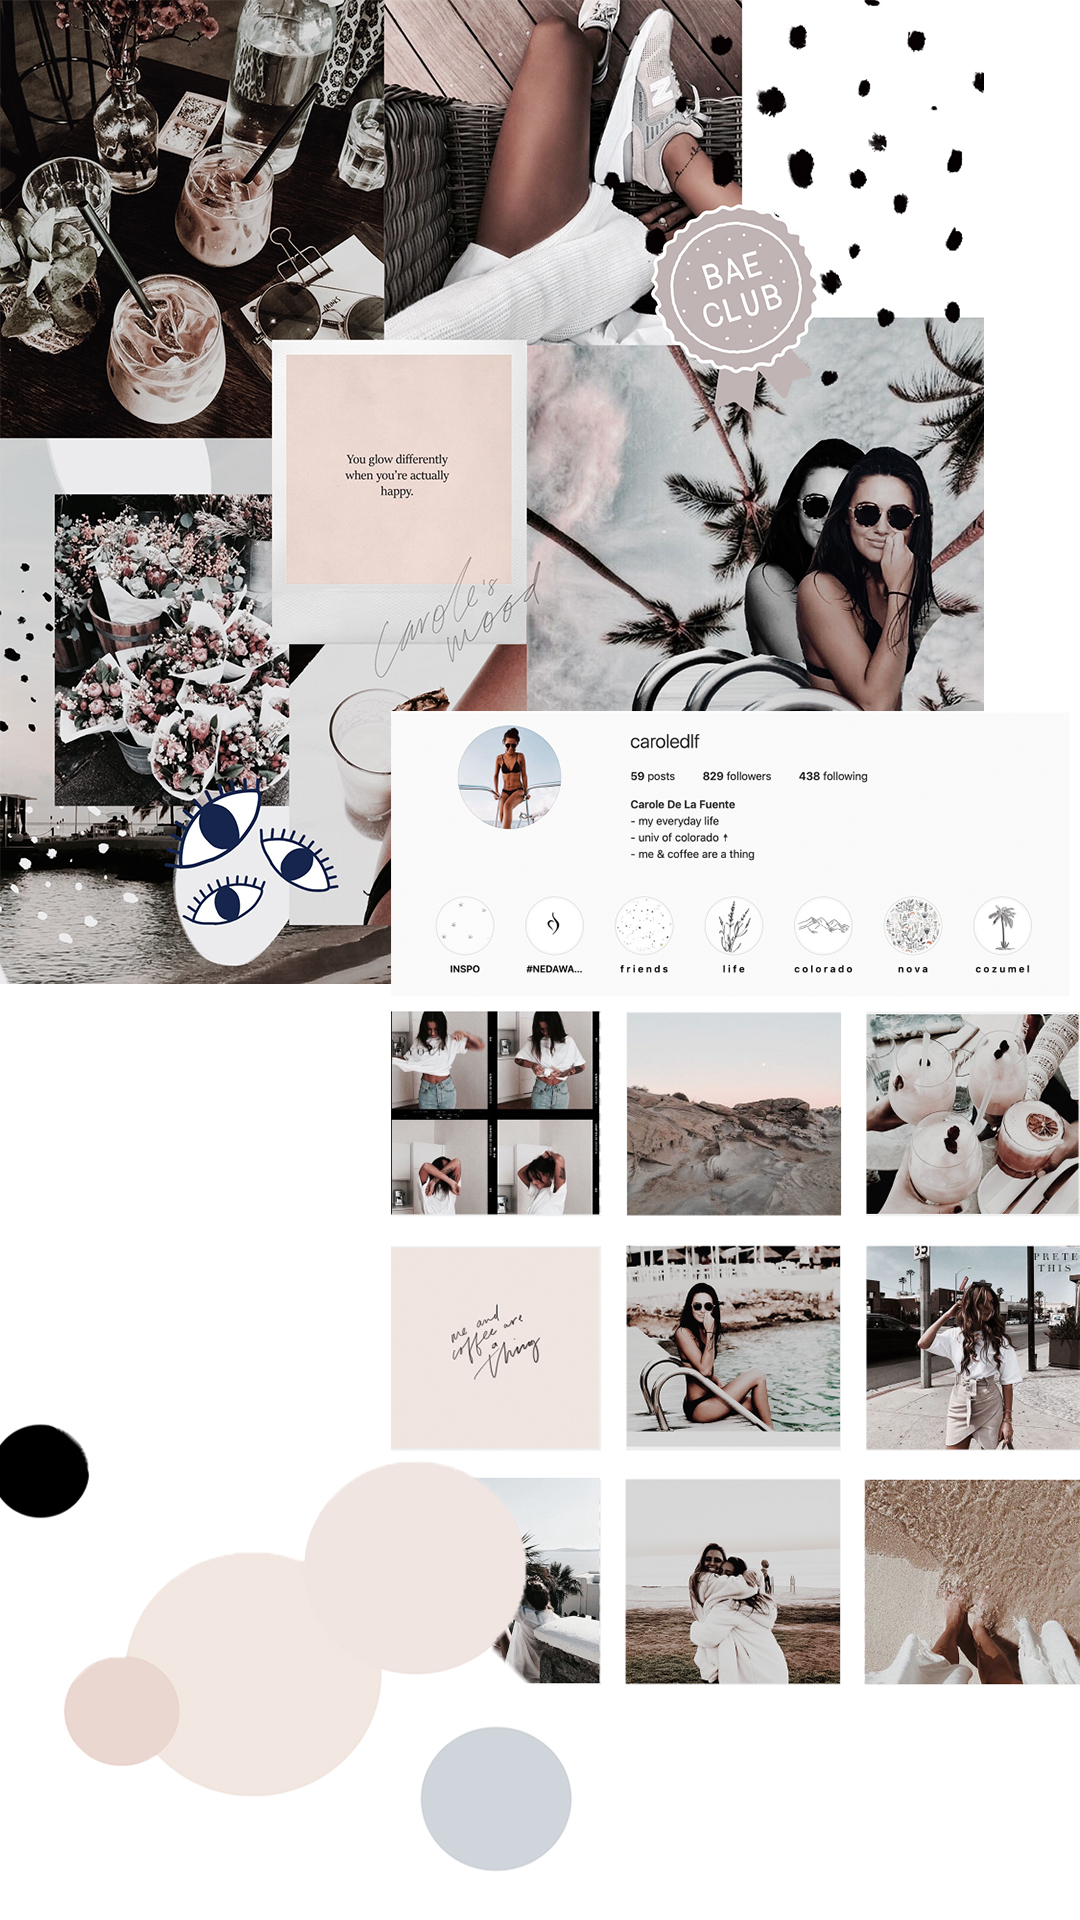
COLORS:
Experiment and find colors that you want to implement. Once you find these colors find a VSCO or Lightroom preset that supports those colors. When you go to take a photo focus on objects and areas that have those colors and avoid colors that don’t match.
PHOTOGRAPHY:
Get in the habit of snapping photos that go along with your Pilars when you are out and when you have extra time. You don’t have to post them right away. You can save them and put them into a planning app that will allow you to plan out your feed and see what looks best.
APPS:
Lightroom- great for professional looking photos, great for the presets you can buy. You can buy presets from influencers and on creativemarket.com and Etsy!
PLANN, UM, PLANOLY – all planning apps. They allow you to plan your content and even schedule so that you will get a reminder when it is time to post. Check them out! You can also put in Inspo photos to help you see they types of photos you want to take and also how they will look in your profile.